Skip to content
adatum
  • Home
  •  About adatum
  •  Learn Azure Bicep
  •  SCOM Web API
microsoft social sign-in Azure

Azure Application registrations, Enterprise Apps, and managed identities

  • 04/03/202112/12/2022
  • by Martin Ehrnst

This post has been lurking in my drafts for almost two years now, and after a recent discussion with colleagues, it was about time I finish it.
Weekly I get questions about Azure AD application registrations and Enterprise Applications. And since you found this post, you are probably looking for a few answers yourself.

Over the years I have done a lot of work that requires playing around with authentication in Azure. Especially the case I had with the secure application model and Microsoft CSP gave me some good insight into this space. In general, I have limited knowledge of Oauth2, etc. And most of my work in this space has been related to integration with Azure Management APIs

The purpose of this post is to demystify everything around managed identities (MSI), Azure application registrations, and Enterprise Apps. Although Microsoft has this well documented, the context can be somewhat vague. Especially for new developers and IT Pros integrating with the Azure Control plane.

Azure Application registrations

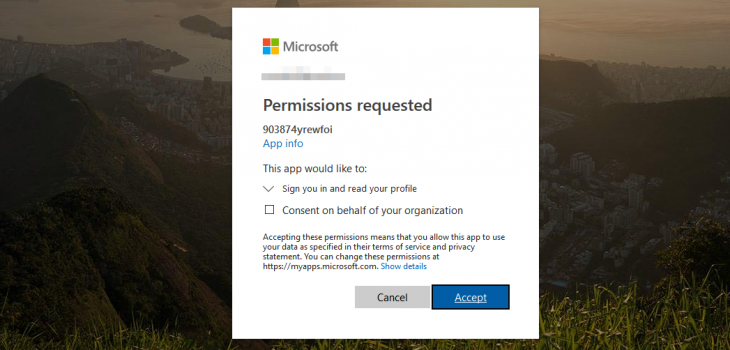
Microsoft has a very robust identity platform in Azure AD. And by creating an application registration you can use this platform to authorize and authenticate various and multiple clients (Mobile, web apps, etc).

When creating an application registration you establish a trust relationship between the Microsofts identity platform and your custom application, meaning you trust Microsoft, but Microsoft does not trust your application in the same way.

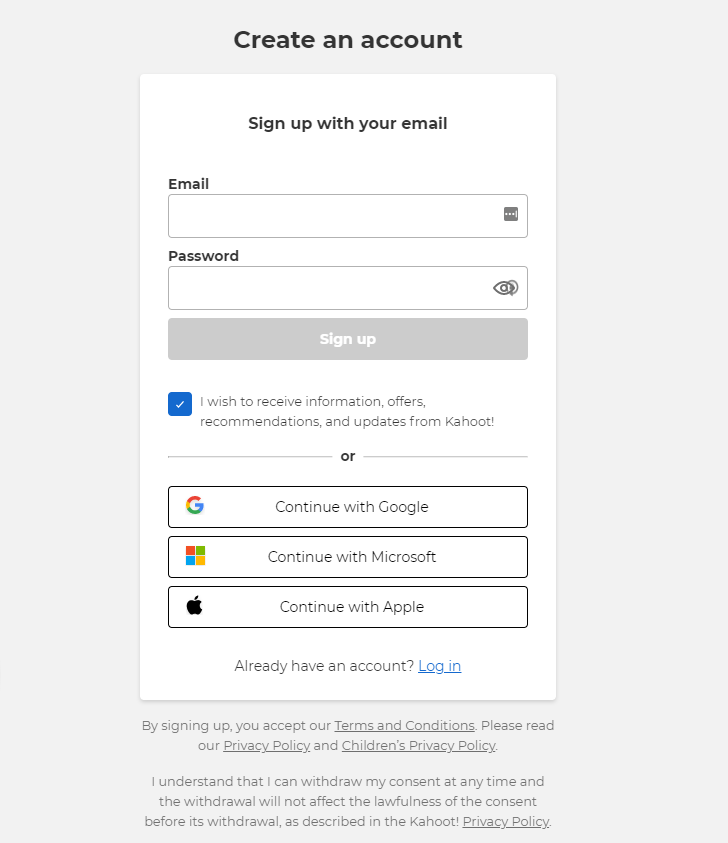
You can create single-tenant, multi-tenant, and Microsoft (liveid) based app registrations or a combination of them. But the application definition is only tied to its home directory.

Azure ad application registration portal
  • Single-tenant configuration
    • Only principals in the “home” tenant can authenticate.
  • Multi-tenant application registrations
    • Allows users and applications in other Azure AD tenants to access your app.
  • Personal Microsoft accounts
    • Here you can allow Microsoft Live ID accounts to access.
Kahoot sign-in with microsoft google and apple

Enterprise applications – service principals

App registrations are not very functional on their own. Where App registrations is you custom application definition. Enterprise application is the application identity within your directory (Azure AD). The service principal (enterprise app) can only be assigned access to the directory it exists, and act as an instance of the application.

Relationship between app registrations and enterprise applications.

Enterprise applications (the service principal) have a reference to its Application registration. In most cases, you have one app registration and the service principal (enterprise application) in the same tenant.
When the application is accessible by multiple tenants, all tenants will have one enterprise application. However, the application registration itself will be in its “home” tenant

This can be confusing. But if you look in the enterprise application blade you can find applications from other app vendors being used by you or other users in your directory.

In short: Azure application registrations are the global representation of your custom application, and Enterprise Application is the local representation of the same application, bound to your tenant.

See this post on how to create Application registrations using PowerShell.

Conditional Access

Conditional Access is where you use signals to identify if a user can access your application or not. You then use these signals in an “if-this-then-that” format to decide whether the user can access your application.

Conceptual Conditional Access process flow
Image from Microsoft Docs

Conditional access is widely used for accessing cloud resources like the Azure Portal or Office 365. However, you can also use the service for your in-house developed applications as well.

Managed identities

Another player in the mix often causing confusion for developers and administrators is Managed Identities. When released, we used the name Managed Service Identities, in short MSI. But recently Microsoft renamed this service to Managed Identities.

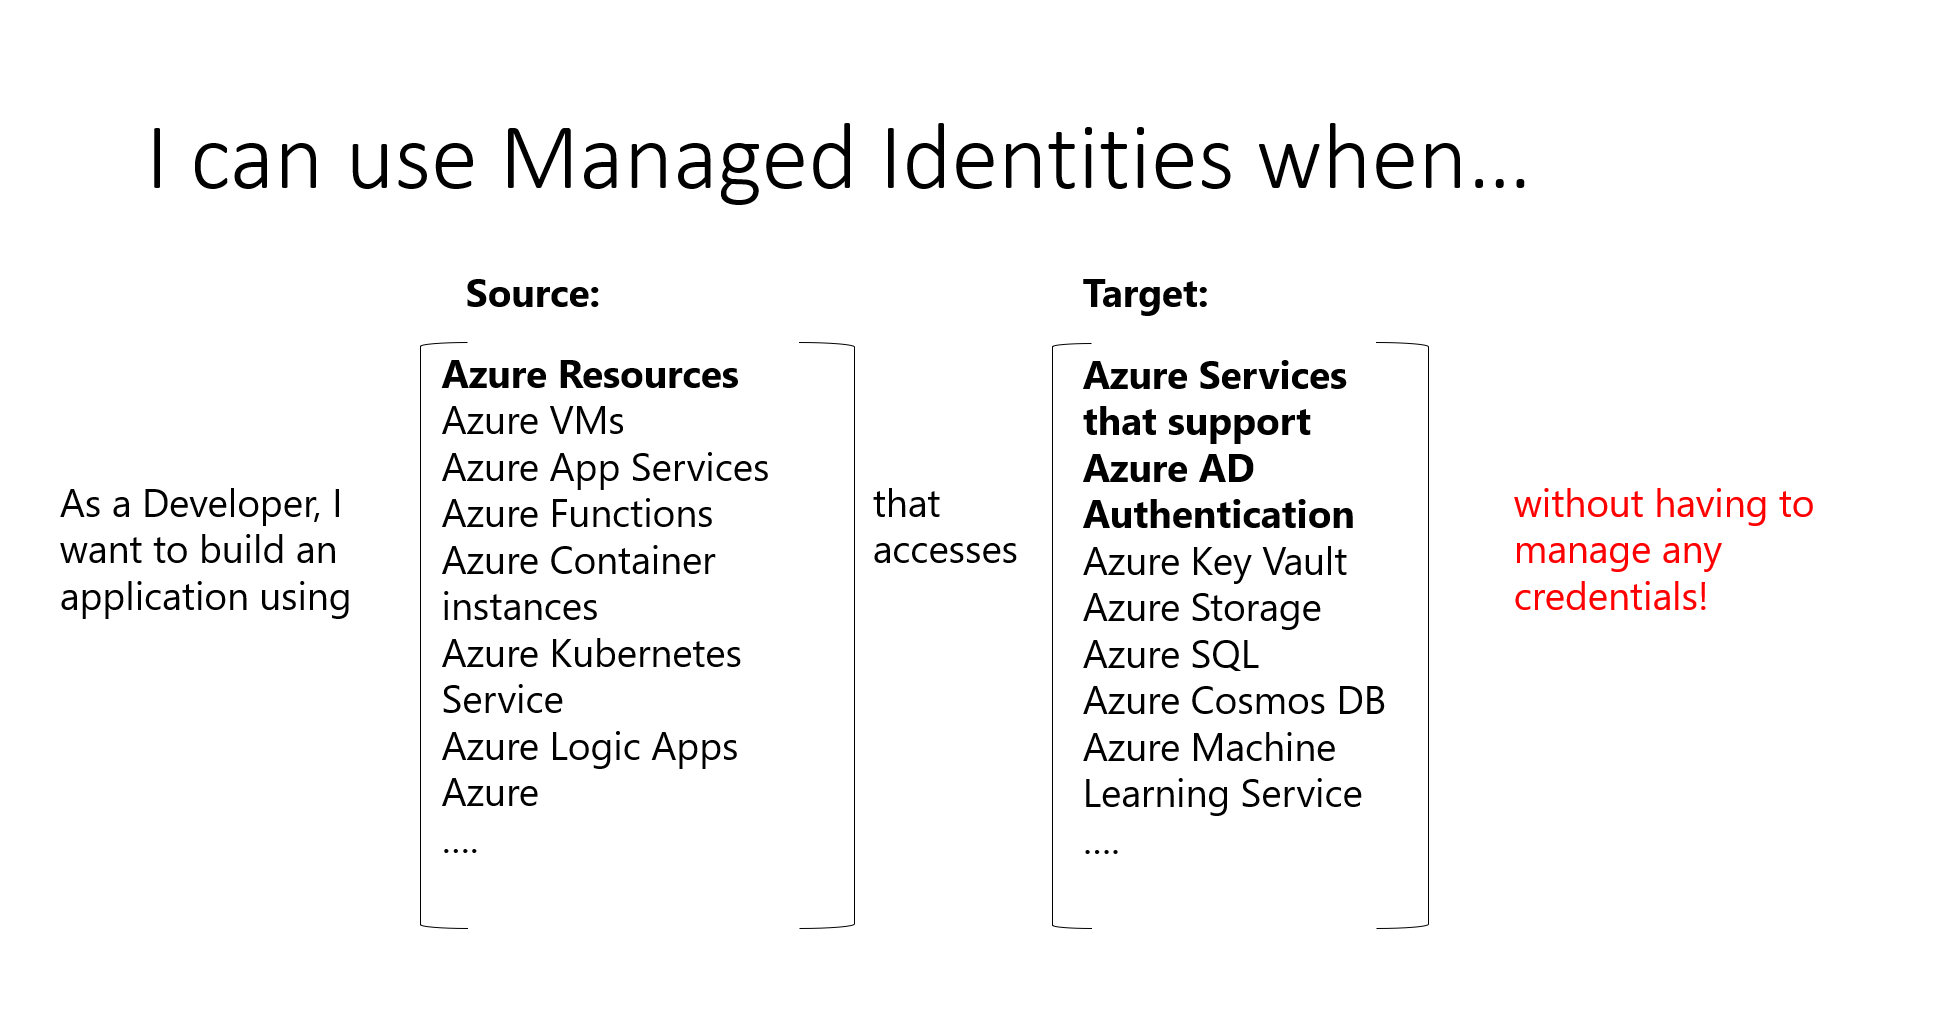
Managed Identities is used to assign an identity (service principal) to an Azure resource. You can use this service principle to access other resources, leveraging the built-in authentication and authorization mechanisms you find in Azure.

Managed identities can access other Azure resources or custom applications.

Previously, when we did not have managed identities, we created an application registration for the resource. Using a secret or certificate to authenticate with Azure. This created a lot of overhead, as it required secret management, key rotation, etc. With managed identities, Azure takes care of this for us.

Managed Identities comes in two configurations. One fully managed and tied to a resource, or as an individual resource.

System-assigned managed identity

System-assigned is where you tie the identity to one specific resource. You configure this during resource deployment or assign an identity after it’s deployed.

The service principal created with system-assigned managed identity will follow the resource lifecycle. If you delete the resource, the identity will also be deleted.

User-assigned managed identity

User-assigned managed identities are individual resources. Multiple Azure resources can use one managed identity, or you can use multiple identities for one resource. Microsoft will still rotate keys and secrets. But with user-assigned managed identities you are in control of the service principal lifecycle and general governance.

Summary

There are a lot more to go through when talking about authentication. How to obtain Azure access tokens or how you add Azure login to your website is not covered here. However, I hope this post made the Azure application registrations, service principal, and managed identity space a bit more clear.

Share this:

  • LinkedIn
  • Twitter
  • Reddit
Azure

Azure AD authentication in Azure Functions

  • 28/03/201903/09/2020
  • by Martin Ehrnst

Ever had the need to enable Azure Active Directory authentication in Azure Functions? In a recent project, I wanted to use Azure Functions, and I wanted both system-to-system authentication, as well as user-based. As Azure Functions is a part of the app services in Azure. It shares many of the same features. Authentication is one of them.

Enable authentication

The scope for this blog post is not to show you how to build an Azure function, but to enable Azure AD authentication on it. You can add auth to your existing function or create a new one using your method of choice. For simplicity, I will show the process of using the Azure portal.

To enable authentication in Azure Function. Navigate to “Authentication/authorization”. This will open a series of blades which guides you through the process.

If you’re not familiar with Azure AD and custom application registrations, I recommend that you use the Express option. This will create the needed application in AAD for you.

Enable azure ad authentication in azure function

Enable azure ad authentication in azure function

Enable azure ad authentication in azure function

Change to anonymous authentication

By default Azure Function uses something called “Function authentication” This is where all your requests have a code parameter at the end of the URL.

https://my-function-app.azurewebsites.net/api/function-name?code=xyzx-zyxx...

We want to have Azure AD perform authentication and authorization, and not the function itself.

Within the GUI, it’s just a flick of a switch. If you are developing locally, using C# you typically do this:

public static HttpResponseMessage (run [HttpTrigger( AuthorizationLevel.Anonymous)] HttpRequestmessage request) { logic }

Enable user assignment

After changing the authorization level and enable AAD authentication,
all users in your organization will automatically have access. If you want more granular control over who has access to your application, you should enable user assignment.

To enable user assignment. Navigate to enterprise application under AAD, and look up the app created by the wizard. The enterprise app is the service principal representing the application you created. Your Azure Function.

Under properties, find the swith for user assignment and turn it on. Navigate to your function URL and see if it works, meaning access denied.

Later add your own user and verify authentication works through Azure AD.

If you want other applications (clients) to call your function, you will have to assign them API access. The same way you give access to for example Microsoft Graph API, you will find your custom application as well.

This will not work right away – By default, there are no application roles assigned. Only delegated permissions. For client authentication to work, you will need to add custom roles to the app representing your Azure Function. It is not difficult, but I used too much time finding it out. Microsoft has it documented here

Authenticate with code

Chances are that your azure function is not a graphical website. Therefore I assume you want to authenticate using code. Either with your own user, or with a separate application/secret combination (app credentials).

The great thing about this is that it works just as any other Microsoft/Azure APIs. If you know how to get a token from Microsoft, you can use the same techniques against your function. My example below show how to retrieve a token for our azure function, and use that bearer token against the function. I use a client application in this scenario.

Summary

This feature is great. I consider my self as a modern IT operations guy. And operations role these days requires more coding and scripting. It is super easy to expose things on the internet. But remember, it might also be just as easy to secure.
I have no idea on how to implement a authentication layer. And if i can use one of the best, i’m all aboard.

Share this:

  • LinkedIn
  • Twitter
  • Reddit
Azure Logo Automation

Creating Azure AD Application using Powershell

  • 10/04/201814/12/2020
  • by Martin Ehrnst
NOTE: This writeup does not use the latest AZ PowerShell module. I will correct this when I find the time.

Azure AD Application

Azure AD has something called Application registrations. These are often used to integrate with external services and can provide functionality like Single Sign-On to your companies Twitter account. There’s a large selection of applications you can choose from in the Azure Portal, but this post will cover how to create your own application registration using Powershell.

In this scenario, we are creating an app that can access Azure Activity Logs, used by our on-premises Splunk environment. Since I am doing this across 300 tenants the manual approach isn’t feasible.

High-level overview

  • Create the app using Powershell
  • Assign the required API access to the new app
  • Create access key
  • Create new Azure AD Service Principal for our app (SPN)
  • Assign ‘Reader’ role to subscription

Create the app using Powershell

This is the easiest part. Azure Powershell has a pretty simple Cmdlet that let’s you create a new application, New-AzureADApplication. The required steps is to Import AzureRM modules and AzureAD modules. After that, connect to Azure AD using

Connect-AzureAD -Credential -TenantId "domain.onmicrosoft.com"

Now you can run New-AzureAdApplication to create a new app, this example shows the required fields.

New-AzureADApplication -DisplayName "Adatum App Demo" -IdentifierUris "https://localhost/AdatumAppDemo" -HomePage "https://localhost/Adatum"

and in return
ObjectId      AppId                   DisplayName
--------      -----                    -----------
2cd0a284-7b9e-4 34ecfd2a-8f78-38c4a8b0 Adatum App Demo

In the Azure portal we can see our new app registration, but it does not have a service principal and no API access. If you would have gone through the steps creating the app in the portal it self SPN and a “read basic profile” API permission would be added to your app by default.

Assign required API access

This is where I spent the most time. In order to assign permissions to our Azure AD Application we will need to write a bit of code. Applications can be assigned Application Permissions and Delegated permissions. According to the documentation New-AzureAdApplication Cmdlet takes a parameter “RequiredResourceAccess”. This again wan’t something of ‘Microsoft.Open.AzureAD.Model.RequiredResourceAccess’ as a generic list. Using my favourite search engine I found that I also needed to construct this object and add multiple objects (the permissions) to it.

Luckily my friend Jan Vidar Elven (MVP) had an example. A sligthly different approach, but here’s what I did. My app needed access to Azure Service Management API, manually I added this via the portal and explored the JSON manifest to see what GUIDs was added. Later I found a better solution, exploring the Service Principal (API’s) using Get-AzureADServicePrincipal.

Get-AzureADServicePrincipal -All $true | Where-Object {$_.DisplayName -eq "Windows Azure Service Management API"}

which will return something like this.

ObjectId AppId DisplayName


28a1249a-c5bb-4c7b-b94d-064ca5bb1952 797f4846-ba00-4fd7-ba43-dac1f8f63013 Windows Azure Service Management API

Then I could start to build my permission object

## Azure Management API
$AzureMgmtPrincipal = Get-AzureADServicePrincipal -All $true | Where-Object {$_.DisplayName -eq "Windows Azure Service Management API"}
$AzureMgmtAccess = New-Object -TypeName "Microsoft.Open.AzureAD.Model.RequiredResourceAccess"
$AzureMgmtAccess.ResourceAppId = $AzureMgmtPrincipal.AppId

If you had used this object with the ‘RequiredResourceAccess’ parameter now, the app would have assigned Windows Azure Service Management API, but no permissions. Just to be clear, this is the permissions I am talking about

You can explore the same permissions using
$AzureMgmtPrincipal.AppRoles for application permissions and $AzureMgmtPrincipal.Oauth2Permissions for delegated permissions. Azure Management only have one delegated permission

PS C:> $AzureMgmtPrincipal.Oauth2Permissions

AdminConsentDescription : Allows the application to access the Azure Management Service API acting as users in the organization.
AdminConsentDisplayName : Access Azure Service Management as organization users (preview)
Id : 41094075-9dad-400e-a0bd-54e686782033
IsEnabled : True
Type : User
UserConsentDescription : Allows the application to access Azure Service Management as you.
UserConsentDisplayName : Access Azure Service Management as you (preview)
Value : user_impersonation

Who doesen’t love GUIDs?

Now add this permission to a new ‘microsoft.open.azuread.model.resourceAccess’ object

$AzureSvcMgmt = New-Object -TypeName "microsoft.open.azuread.model.resourceAccess" -ArgumentList "41094075-9dad-400e-a0bd-54e686782033", "Scope" before you add that permission object to the ‘resource access object’ created earlier.

$AzureMgmtAccess.ResourceAccess = $AzureSvcMgmt

If you where adding multiple permissions, repeat the above. After you completed this step, our first object $AzureMgmtAccess have an app ID assigned (Azure management api) with the corresponding Resource access object(s)
ResourceAppId ResourceAccess


797f4846-ba00-4fd7-ba43-dac1f8f63013 {class ResourceAccess {...

Now you can re-run our first command but add the permission parameter (delete the app created earlier or change the identifier)

New-AzureADApplication -DisplayName "Adatum App Demo" -IdentifierUris "https://localhost/AdatumAppDemo" -HomePage "https://localhost/Adatum" RequiredResourceAccess @($AzureMgmtAccess)

Check your portal now 🙂

Application Access Key

We have to create an access key for us to programmatically logging in via the application. Depending on your scenario, you might want to create multiple keys, but in this example I am sticking with one. Just like in the Azure portal you will specify the validity time for your key. The example below will add a key wich expire in one year.

New-AzureADApplicationPasswordCredential -ObjectId $AdatumDemoApp.ObjectId -CustomKeyIdentifier "Access Key" -EndDate (get-date).AddYears(1)

If you want the key to not be activated immediately, set the appropriate date time by using StartDate parameter.

Create new Azure AD service principal

For our application to access within our tenant, we need to assign a new service principal. The security principle will allow us to access the subscription (or other resources for that matter.) You can read more about security principals for users and services here, Application and service principal objects in Azure Active Directory (Azure AD)

To create the service principal in via Powershell, run the following: New-AzureADServicePrincipal -AppId -Tags @("WindowsAzureActiveDirectoryIntegratedApp")
Pay attention to that tag. It is required if you want the app to show under app integrations in the Azure AD portal view. Documented here

RBAC / IAM subscription access

The app I am creating is used to read Azure activity logs. To be allowed to read these logs, the app must be assigned ‘Read’ permission on the subscription level. To assign a new role, use the New-AzureRmRoleAssignment cmdlet, using ObjectID, RoleDefinitionName and Scope as input parameters.

New-AzureRmRoleAssignment -ObjectId 'SPN objectId' -RoleDefinitionName "Reader" -Scope "/subscriptions/$SubScriptionId"

PS: When you put the complete script together, you will find that the SPN is create async in Azure Resource Manager. Meaning that you will get the output, but the principal isn’t created. To get around this in our provisioning I created a while loop. Not the prettiest you will find, but works for now.


while ($addRole.DisplayName -ne $AzureSplunkAdApp.DisplayName ) {
Start-Sleep -Seconds 5
Write-Verbose "Waiting for SPN to create"
$addRole = New-AzureRmRoleAssignment -ObjectId $AzureSplunkAdAppAppSPN.ObjectId -RoleDefinitionName "Reader" -Scope "/subscriptions/$SubScriptionId"
}

Final script

I have put together a complete script that will create this demo application. No error handling and your risk 🙂

Share this:

  • LinkedIn
  • Twitter
  • Reddit

Popular blog posts

  • Azure Application registrations, Enterprise Apps, and managed identities
  • SCOM 1801 REST API Interfaces
  • Creating Azure AD Application using Powershell
  • Automate Azure DevOps like a boss
  • Access to Blob storage using Managed Identity in Logic Apps - by Nadeem Ahamed

Categories

Automation Azure Azure Active Directory Azure Bicep Azure DevOps Azure Functions Azure Lighthouse Azure Logic Apps Azure Monitor Azure Policy Community Conferences CSP Monitoring DevOps Guest blogs Infrastructure As Code Microsoft CSP MPAuthoring OMS Operations Manager Podcast Powershell Uncategorised Windows Admin Center Windows Server

Follow Martin Ehrnst

  • Twitter
  • LinkedIn

RSS feed RSS - Posts

RSS feed RSS - Comments

Microsoft Azure MVP

Martin Ehrnst Microsoft Azure MVP
Adatum.no use cookies to ensure that we give you the best experience on our website. If you continue to use this site we will assume that you are happy with it. Cookie Policy
Theme by Colorlib Powered by WordPress